Accessories for installing a fencing meshFast and durable solution for installing a fencing mesh
Diagram of the grid fence assembly system
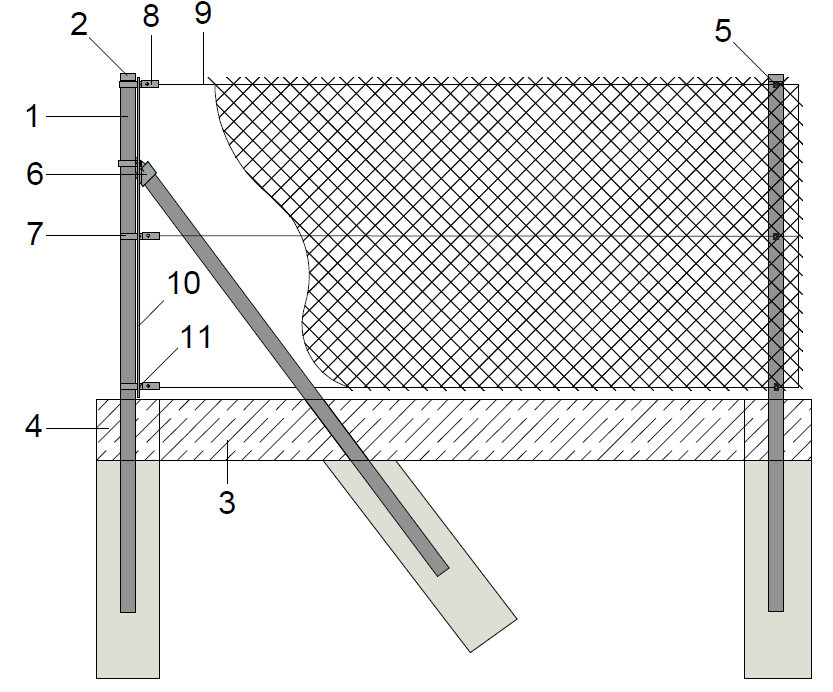
Assembly instructions for mesh fencing
- We make holes in the ground with a diameter of 20-30cm and a depth of 100cm in a suitable spacing.
- We will place posts (1) with supports in concrete. The posts are equipped with a plug (2), which protects them against the ingress of water to the inside.
- We lay a concrete foundation (3) with connectors (4). The connectors can be in two concrete and metal versions.
- We screw in the guides (5) to the posts in the appropriate spacing depending on the height of the grid. We use self-tapping screws to install the eyelets.
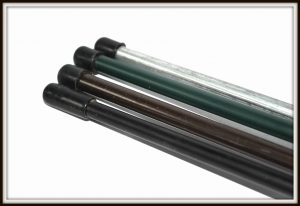
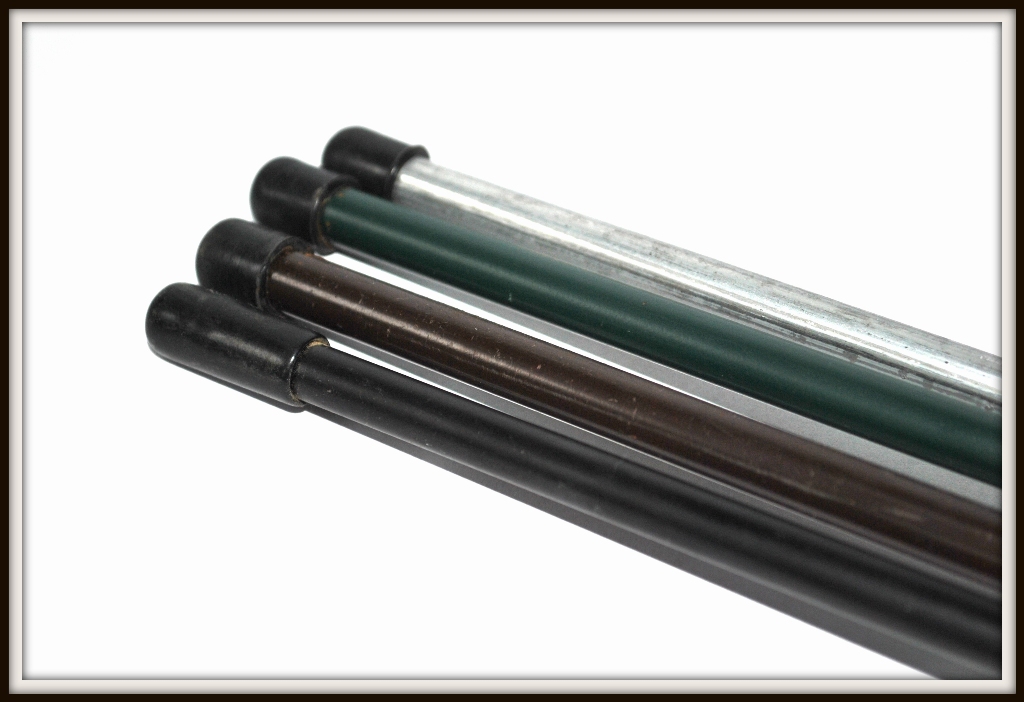
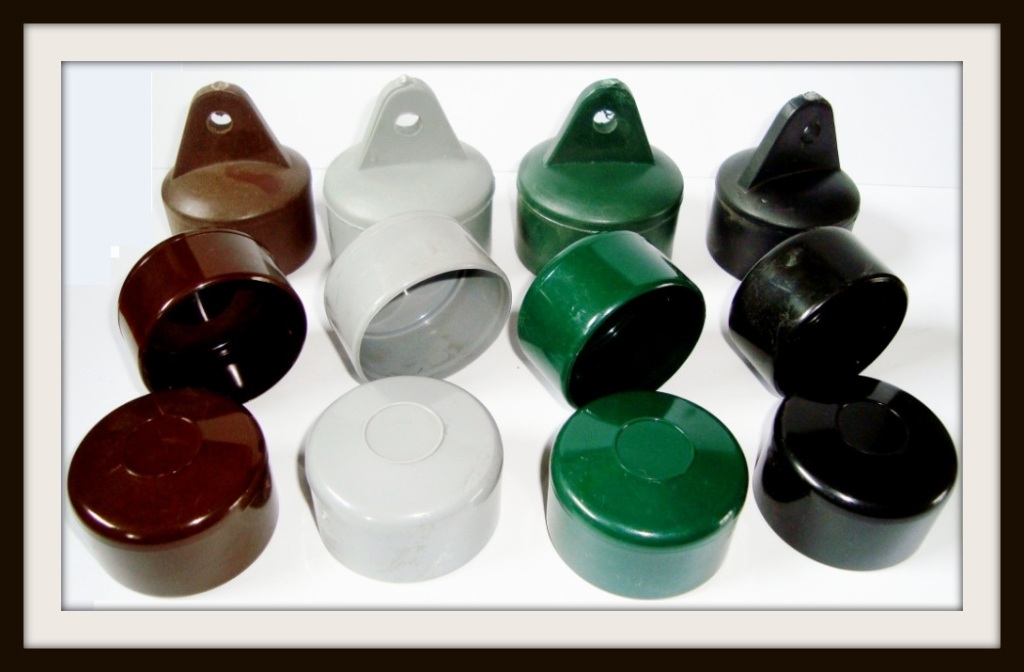
- We put the caps on supports (6).
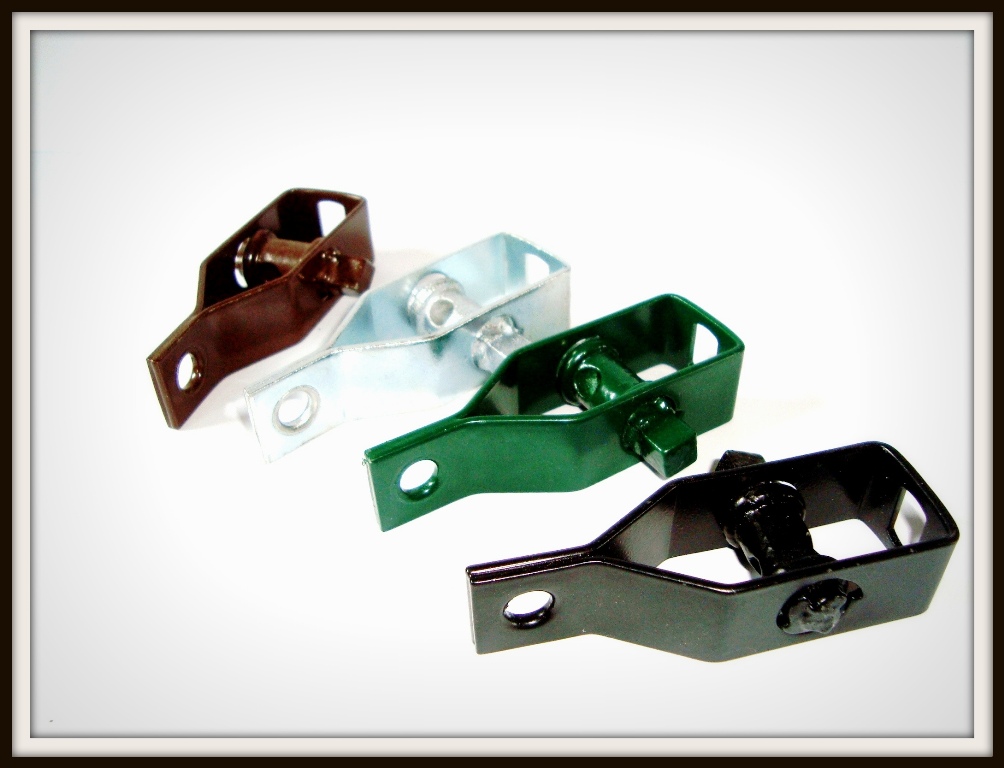
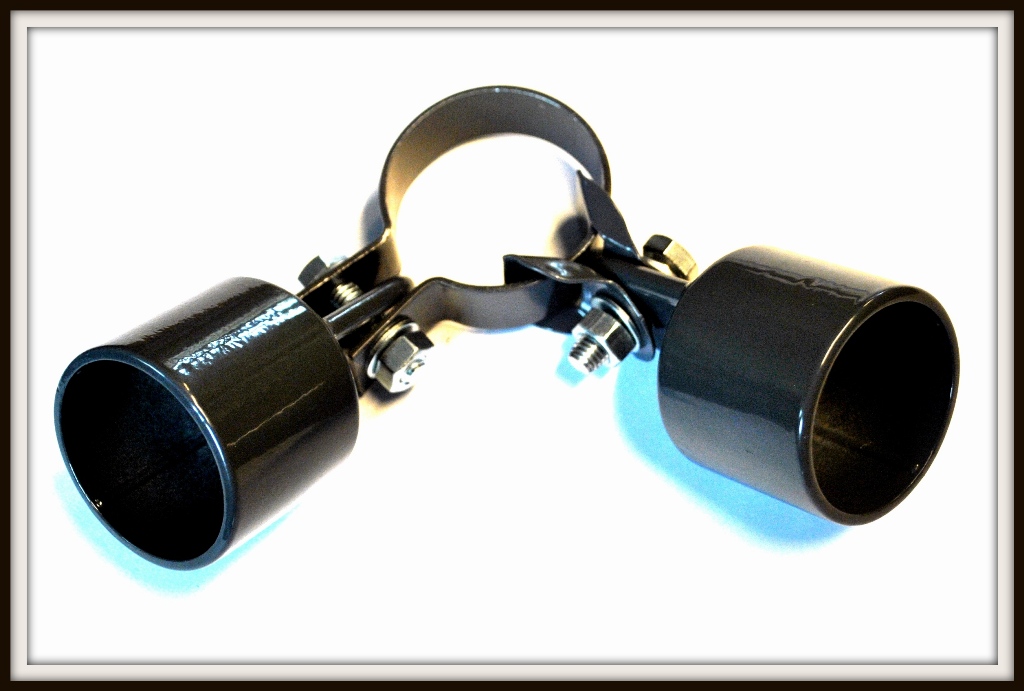
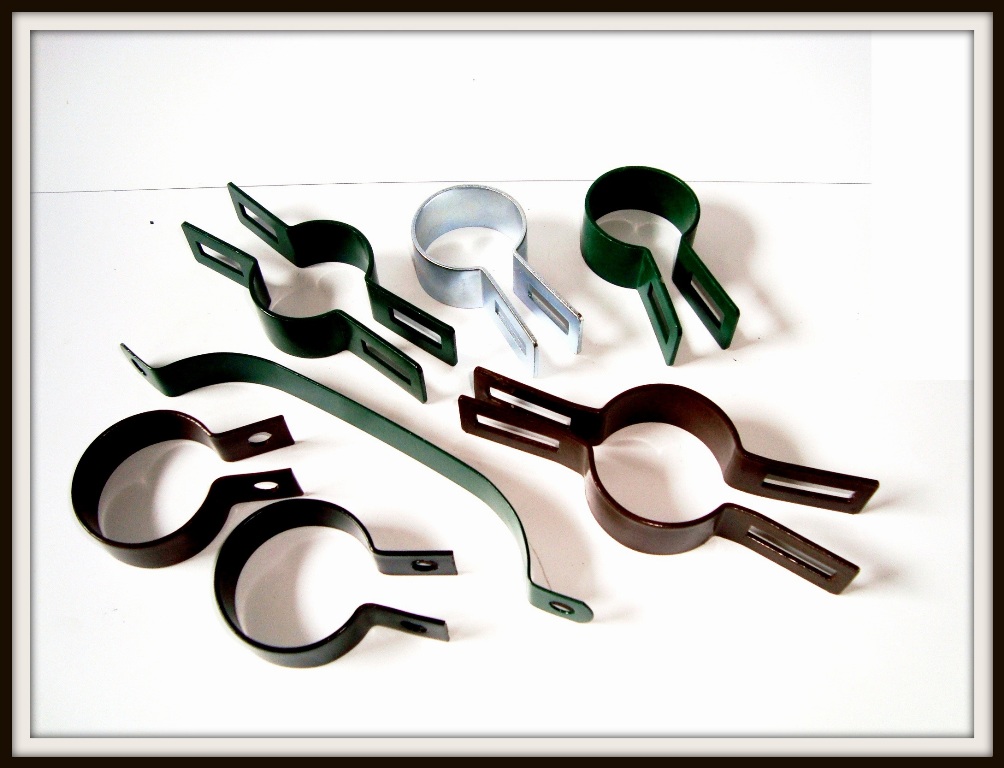
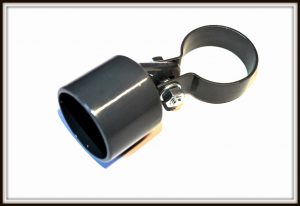
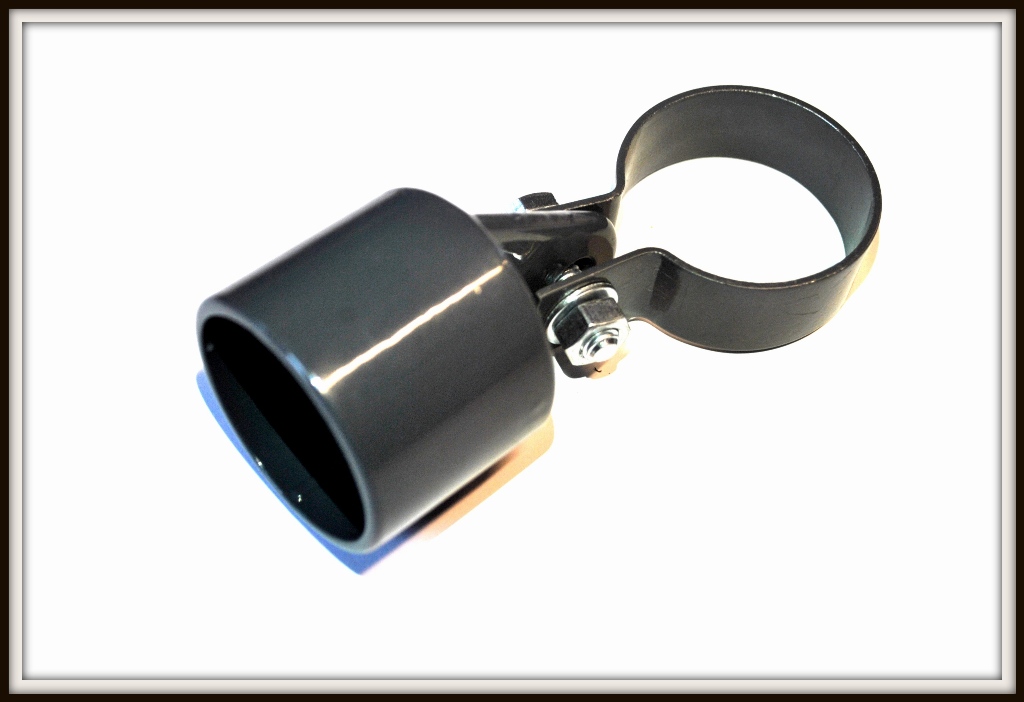
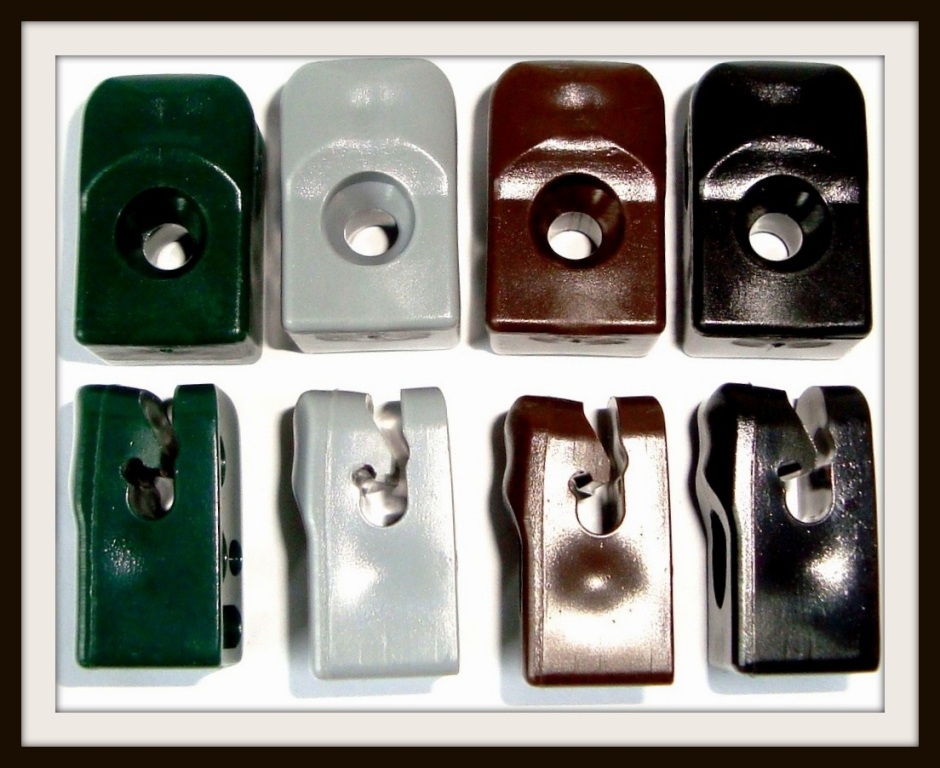
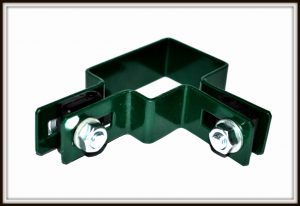
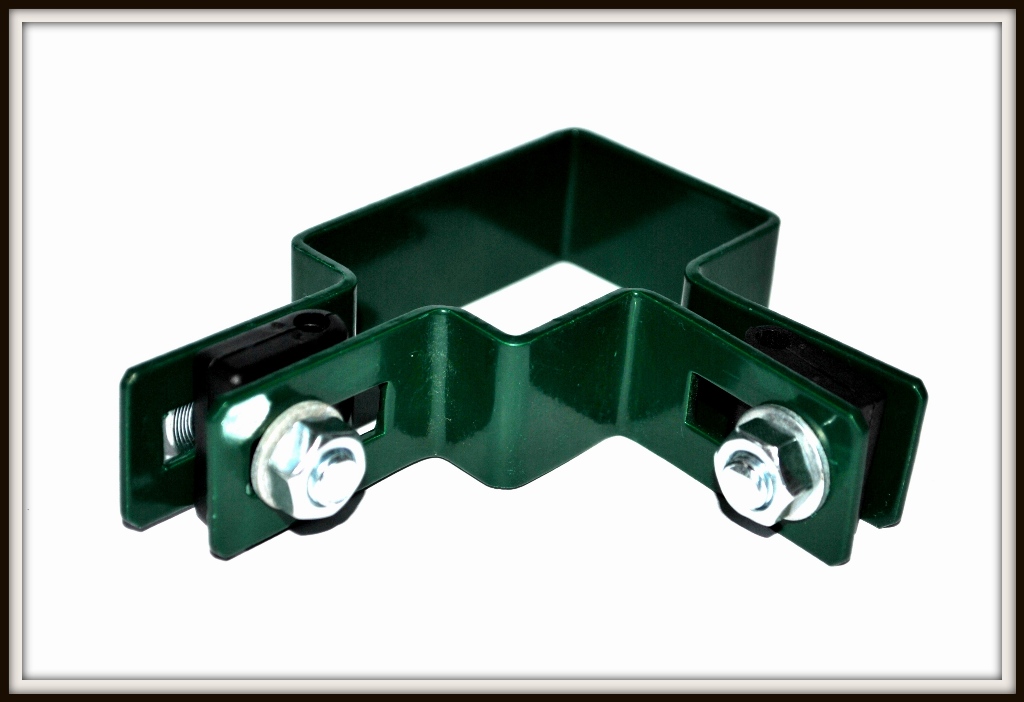
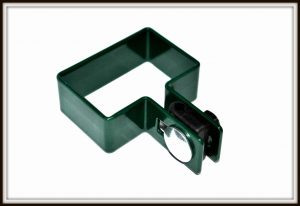
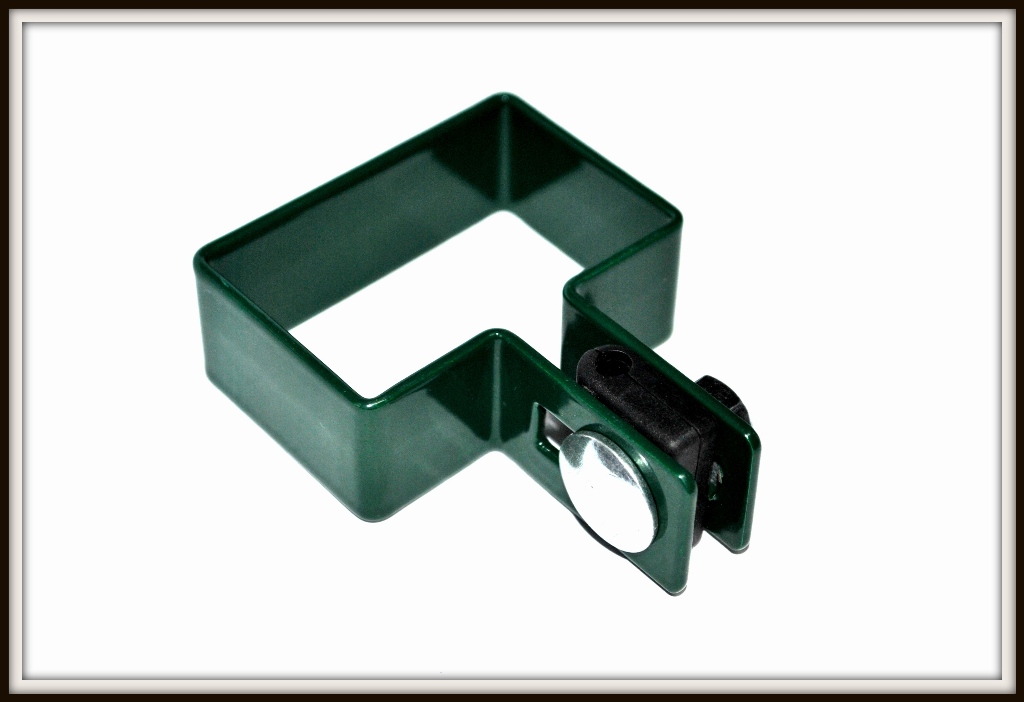
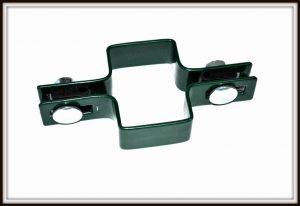
- We assemble the clamps (7) and bolts, which together with the cap constitute a mounting set for supports (corner, through or start).
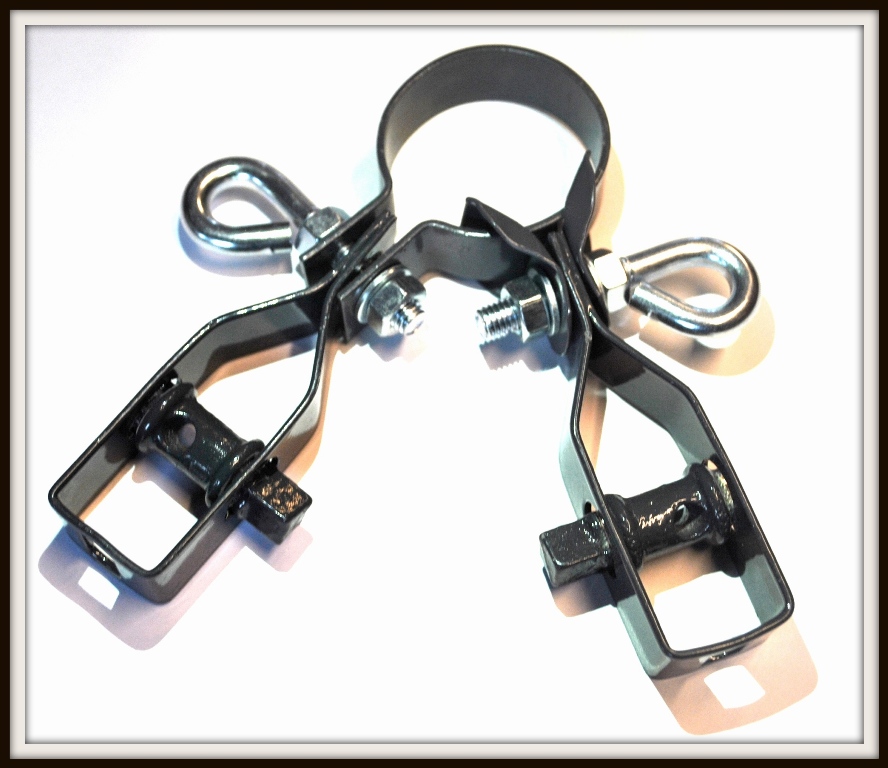
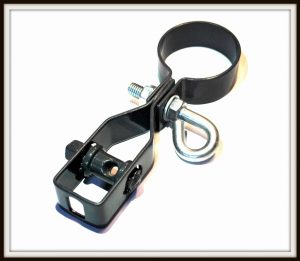
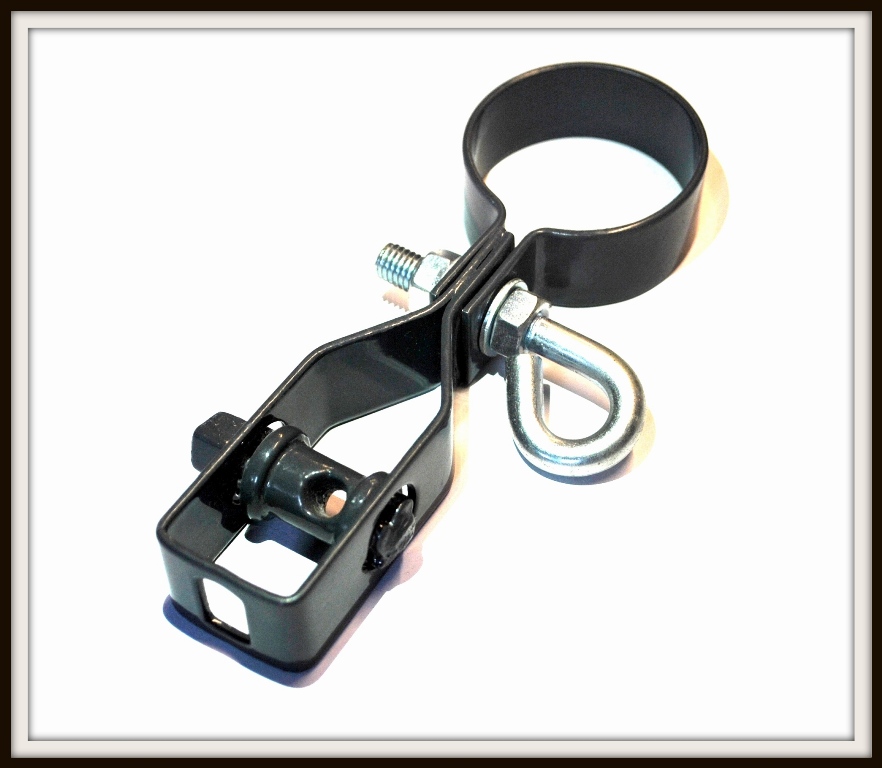
- We assemble the clamps with the eye bolt together with the tensioners (8), which is a mounting set for wire tension (corner or initial).
- Tighten the tension wires (9).
- Using the rods (11), which are installed in the eyelets with the eye (11), we proceed to the assembly of the fence mesh.
- The net is rolled into rolls up to 10m long. After each roll, it is recommended to temporarily stretch the fence mesh with sections.
- The lower and upper edges of the net are hooked on tension wires, the center of the net is tied with tie wire.
-
- Elementy pomocnicze do obejm
-

- Łączniki metalowe do podmurówki

-

- Napinacze drutu
-
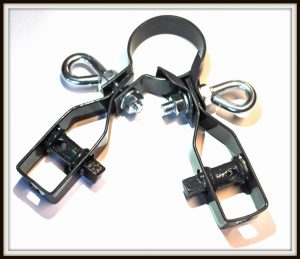
- Komplet narożny do naprężania drutu
-
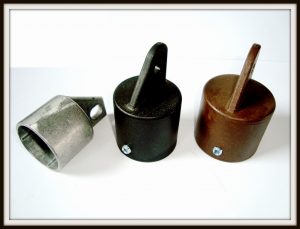
- Nasadki / Kapturki na podpory

-
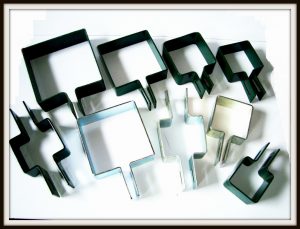
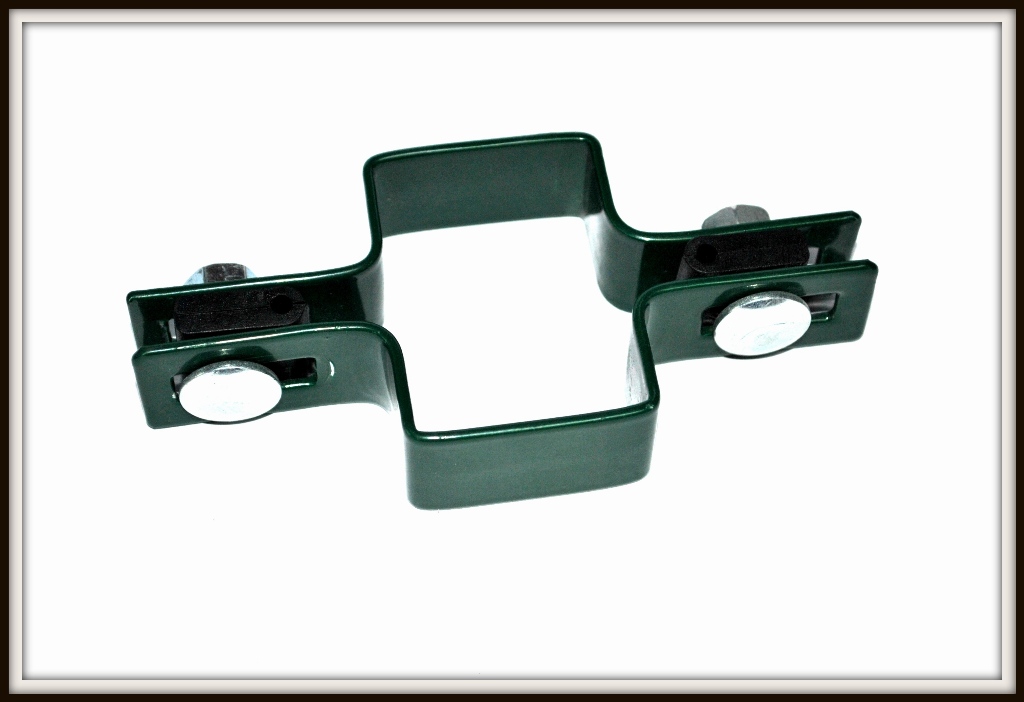
- Obejmy kwadratowe na słupki

-
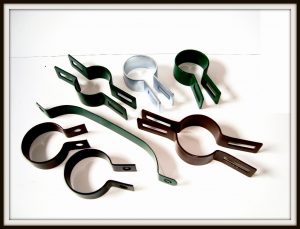
- Obejmy i opaski okrągłe na słupki
-
- Komplet początkowy do naprężania drutu
-
- Komplet początkowy do montażu podpór
-
- Pręt do naprężenia siatki
-

- Przelotki do drutu
-

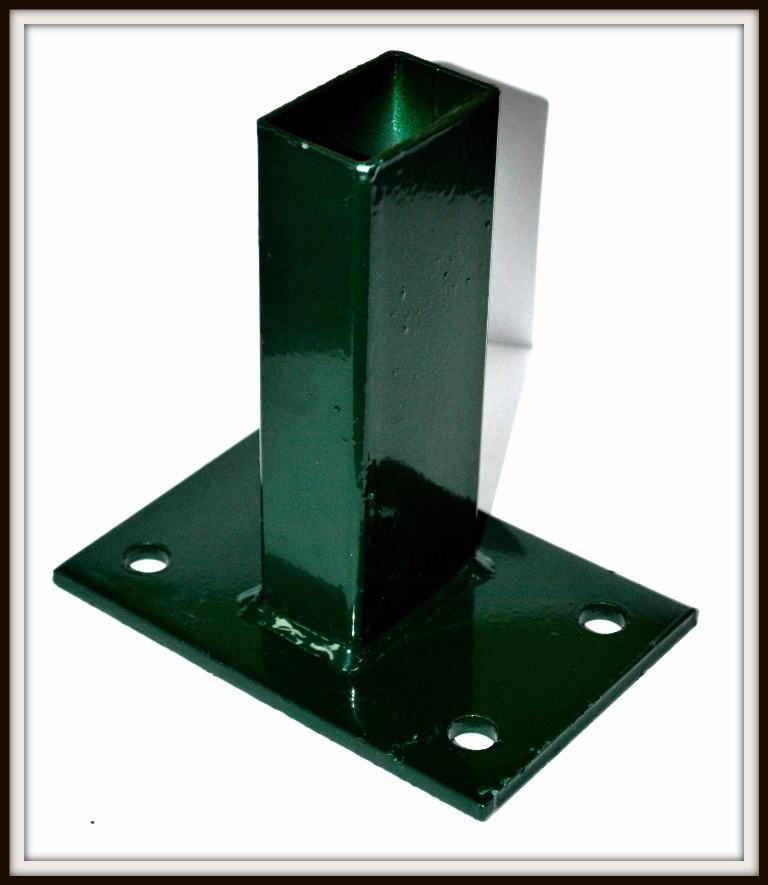
- Stopa do montażu słupków w betonie
-

- Śruba z oczkiem / uchem

-

- Śruby rzymskie i naciągowe

-

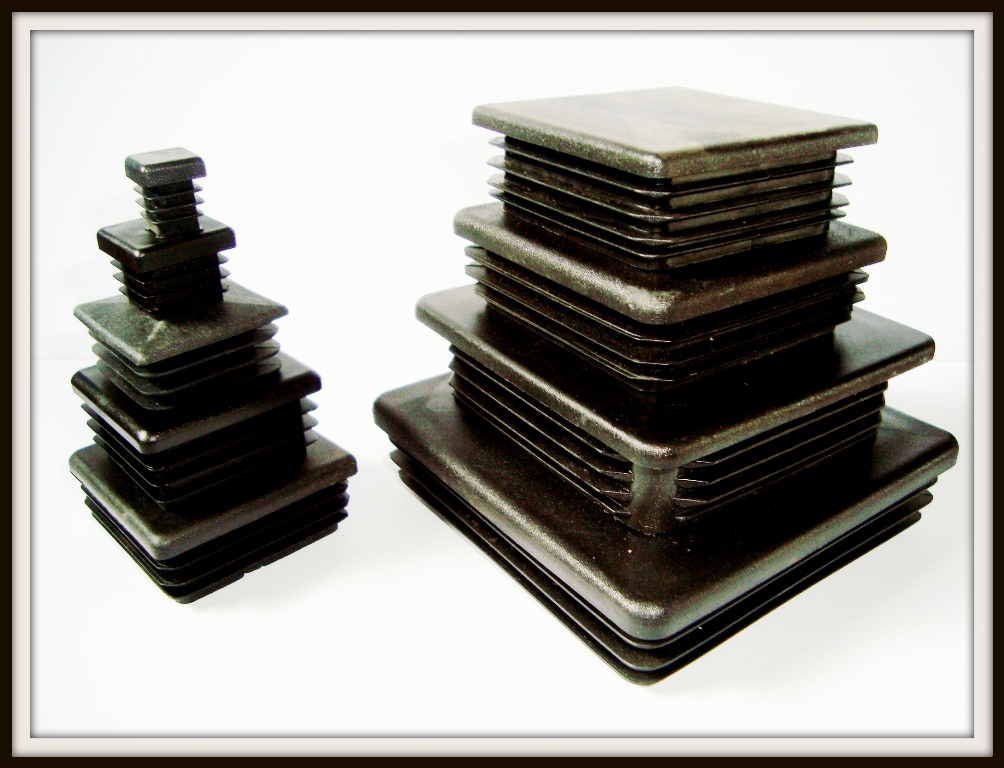
- Kapturki wewnętrzne na profil kwadratowy
-
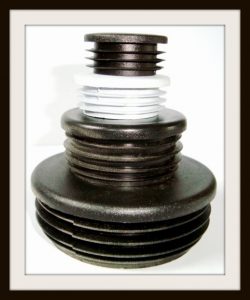
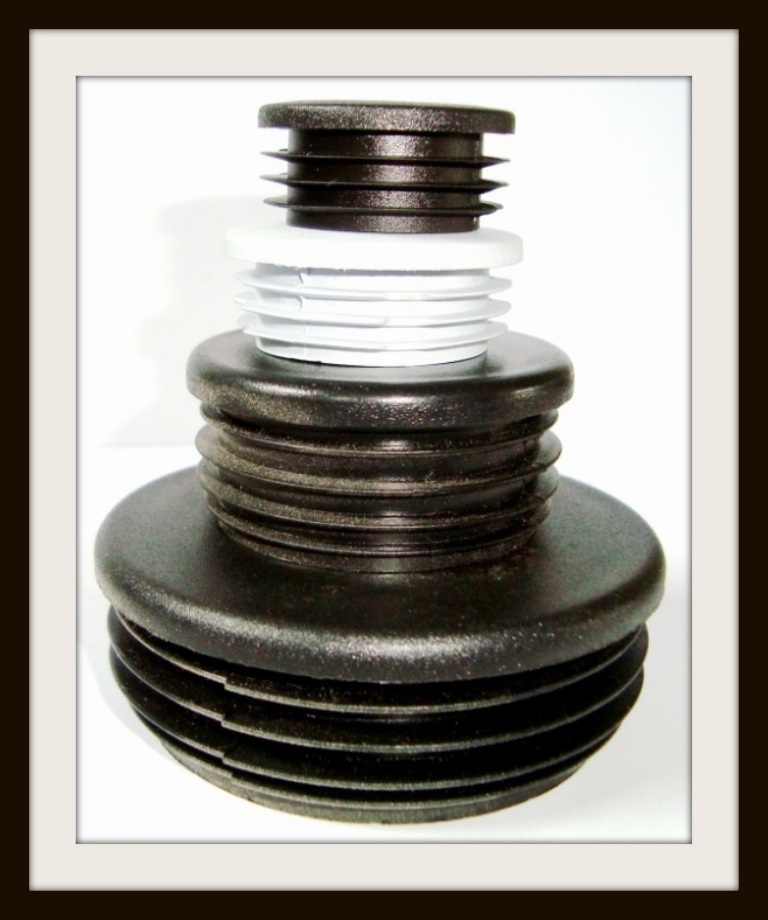
- Kapturki wewnętrzne na profil okrągły
-
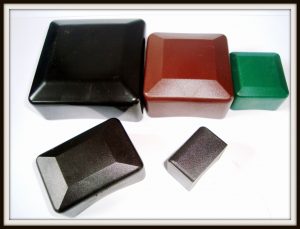
- Kapturki zewnętrzne na profil kwadratowy

-

- Kapturki zewnętrzne na profil okrągły
Accessories for mounting fence panelsEasy and quick assembly of panel fencing
Diagram of the panel fence assembly system

Assembly instructions for panel fencing
- We make holes in the ground with a diameter of 20-30cm and a depth of 100cm in a suitable spacing.
- We will place posts (1) in concrete. The posts are equipped with a cap (cap), which protects them against the ingress of water to the inside.
- We lay a concrete foundation (3) with connectors (2). The connectors can be in two concrete and metal versions.
- Using the clamps (4), we install fence panels (5).
- Mounting feet are used to mount the posts on the concrete surface,
-
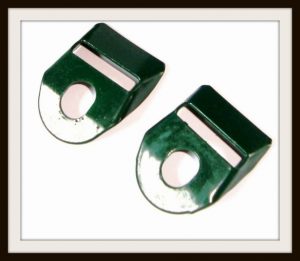
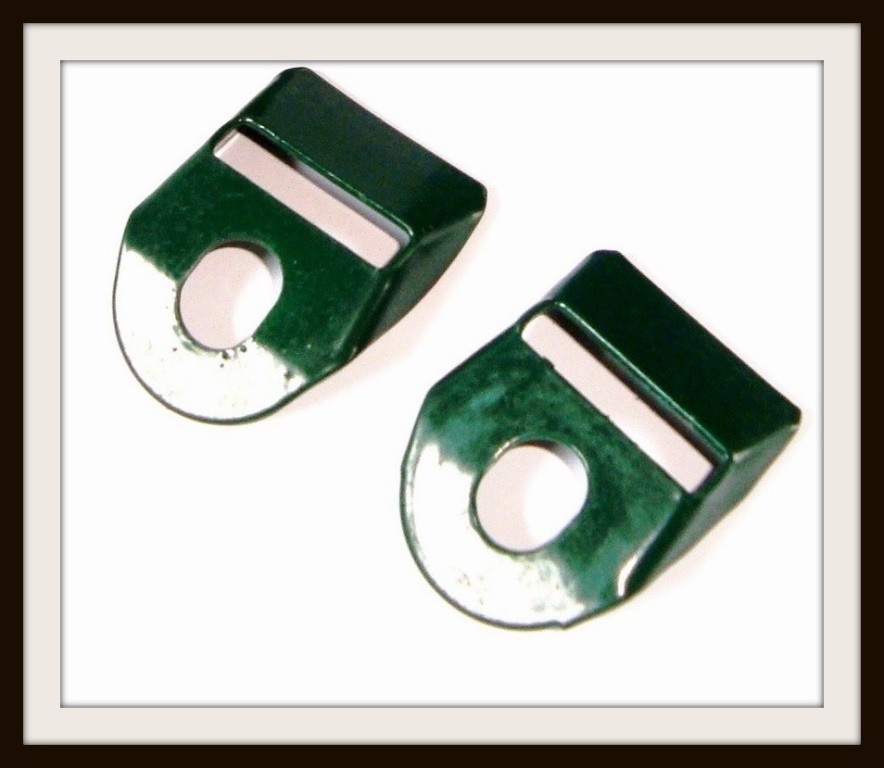
- Obejmy montażowe narożne
-
- Obejmy montażowe początkowe
-
- Obejmy montażowe przelotowe